If you imagined running a digital business as in a novel or a movie, time would be one of your main villains. Unbeatable, ruthless, and cold. When your goals and needs are piling up, and one project is chasing another, finding time to manage them all is a great challenge. The same scenario goes to running webinars. That’s why, we are super-excited to announce our latest feature – Automated Webinars – your new ally in the combat with time.
Although hosting live webinars is enormously exciting and video marketers rank them very high in terms of bringing results, you need to invest time and effort in the process.
At first, live events for smaller audiences do the trick. But the more you grow, and the more leads and customers start to attend your webinars, the more time you need to dedicate to schedule, promote, and host your live online events.
But, what if you scale up your business remarkably, and you need to generate leads from different time zones with product demos for hundreds or thousands of attendees?
Or you build up your set of online courses up to a hundred events a month?
Or the number of employees went up so hugely that you need to organize onboarding and training webinars ten times a week?
This is where Automated Webinars come to the rescue!
Automated Webinars are a dream tool for:
- Sales Teams
- Digital Marketers
- Online Teachers
- HR Specialists
Table of Contents
How to create Automated Webinars?
Switching from scheduling numerous live events to Automated Webinars means taking tons of repetitive work off your shoulders.
How to make this change?
-
First off, you need to record your webinar which you will reuse as an automated one as long as you wish So, instead of going live with your content each time you want to broadcast a webinar, record it just once and perfectly.
-
As soon as you have that done, you can prepare a Survey to launch during your upcoming automated event. Taking a specific topic and knowledge from the webinar, write down the questions you would like to ask your audience. Surveys make a fantastic resource to analyze your attendees’ feedback.
-
Having those two under your fingertips, you can think about uploading a video clipyou would like to inject into your Automated Webinar. A compelling video will do a great job as a break from presenting hard data and will recharge the batteries of your webinar attendees.
Before you start setting up your automated event, make sure all the elements – webinar recording, survey, and video – are waiting in your Storage, in your webinar software account panel.
Now, it’s time for the exciting part:
Compose your Automated Webinar Timeline
If you think of putting your work into setting something advanced in a technology platform, words like “mundane” or “tedious” may come into your mind.
Forget about it!
Scheduling your automated events with ClickMeeting webinar software is intuitive and fun!
Here’s how to do it, step-by-step:
Step 1: Schedule your Automated Webinar
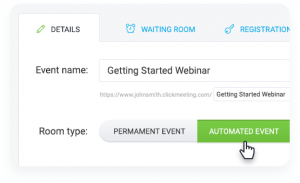 You start as if you were setting up a live event. After logging into your account panel, you need to hit the “Schedule event” button.
Then, like always, name the event. The first difference comes next – you need to choose the “Automated” Room Type.
Next, select the date and hour when you want the webinar to take place.
Step 2: To chat or not to chat?
 Right after the above basics, you’re facing a crucial decision. Chat is the essence of the interactive aspect live webinars bring to the table. Having a live conversation with your attendees builds a stronger relationship between you and your audience and is a test for you whether everything you say is clear to everyone.
You may think now – “Why do I need the Chat when it’s supposed to automate the entire work for me?” And – high-five – you will have a point.
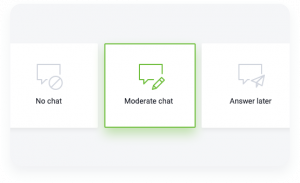
However, we considered different use cases here at ClickMeeting. As a result, you will have three options for setting up Chat:
-
No Chat – that means automation at its finest. Meaning – you won’t have to be physically there at every automated webinar to answer the questions your attendees will ask. With this mode, you will turn off the Chat.
-
Moderated Chat – in this scenario, you don’t want to present your content live or talk each time you broadcast a webinar. Still, you would like to interact with the audienceas the recorded webinar goes along. With this option, attendees will ask you questions, and you will be there during an event to answer them. The huge advantage – you can focus entirely on the discussion, and the webinar works away by itself.
-
Answer later – the name tells much about this option. It is ideal if you want both – let the webinars play entirely on autopilot (with no need for you to be there moderating the Chat), but you still would like to enable the audience to ask questions. With this mode, you will get back to the questions and answer them in your spare time.
Step 3: Start building your Automated Webinar
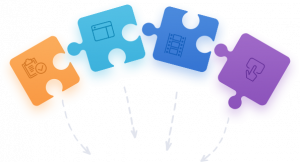 OK, it’s time to use the elements we described a couple of paragraphs above. With a few clicks, you can upload your:
-
Webinar recording – your previously recorded, sublime webinar
-
Survey – your set of questions to examine your attendees’ knowledge and analyze their feedback
-
Video clip – your compelling interlude material
But that’s not all!
Automated Webinars have something in common with the live ones, and that is a Call-To-Action displayed during a webinar. If you didn’t place a CTA button into your automated event, it would be like slowing down right before the finish line.
Keep in mind that a Call-To-Action is the bottom line of every marketing, sales, and educational webinar. Find a minute to customize it and decide when (and for how long) your attendees will see the CTA button during your automated event.
Step 4: Compose your Automated Webinar Timeline
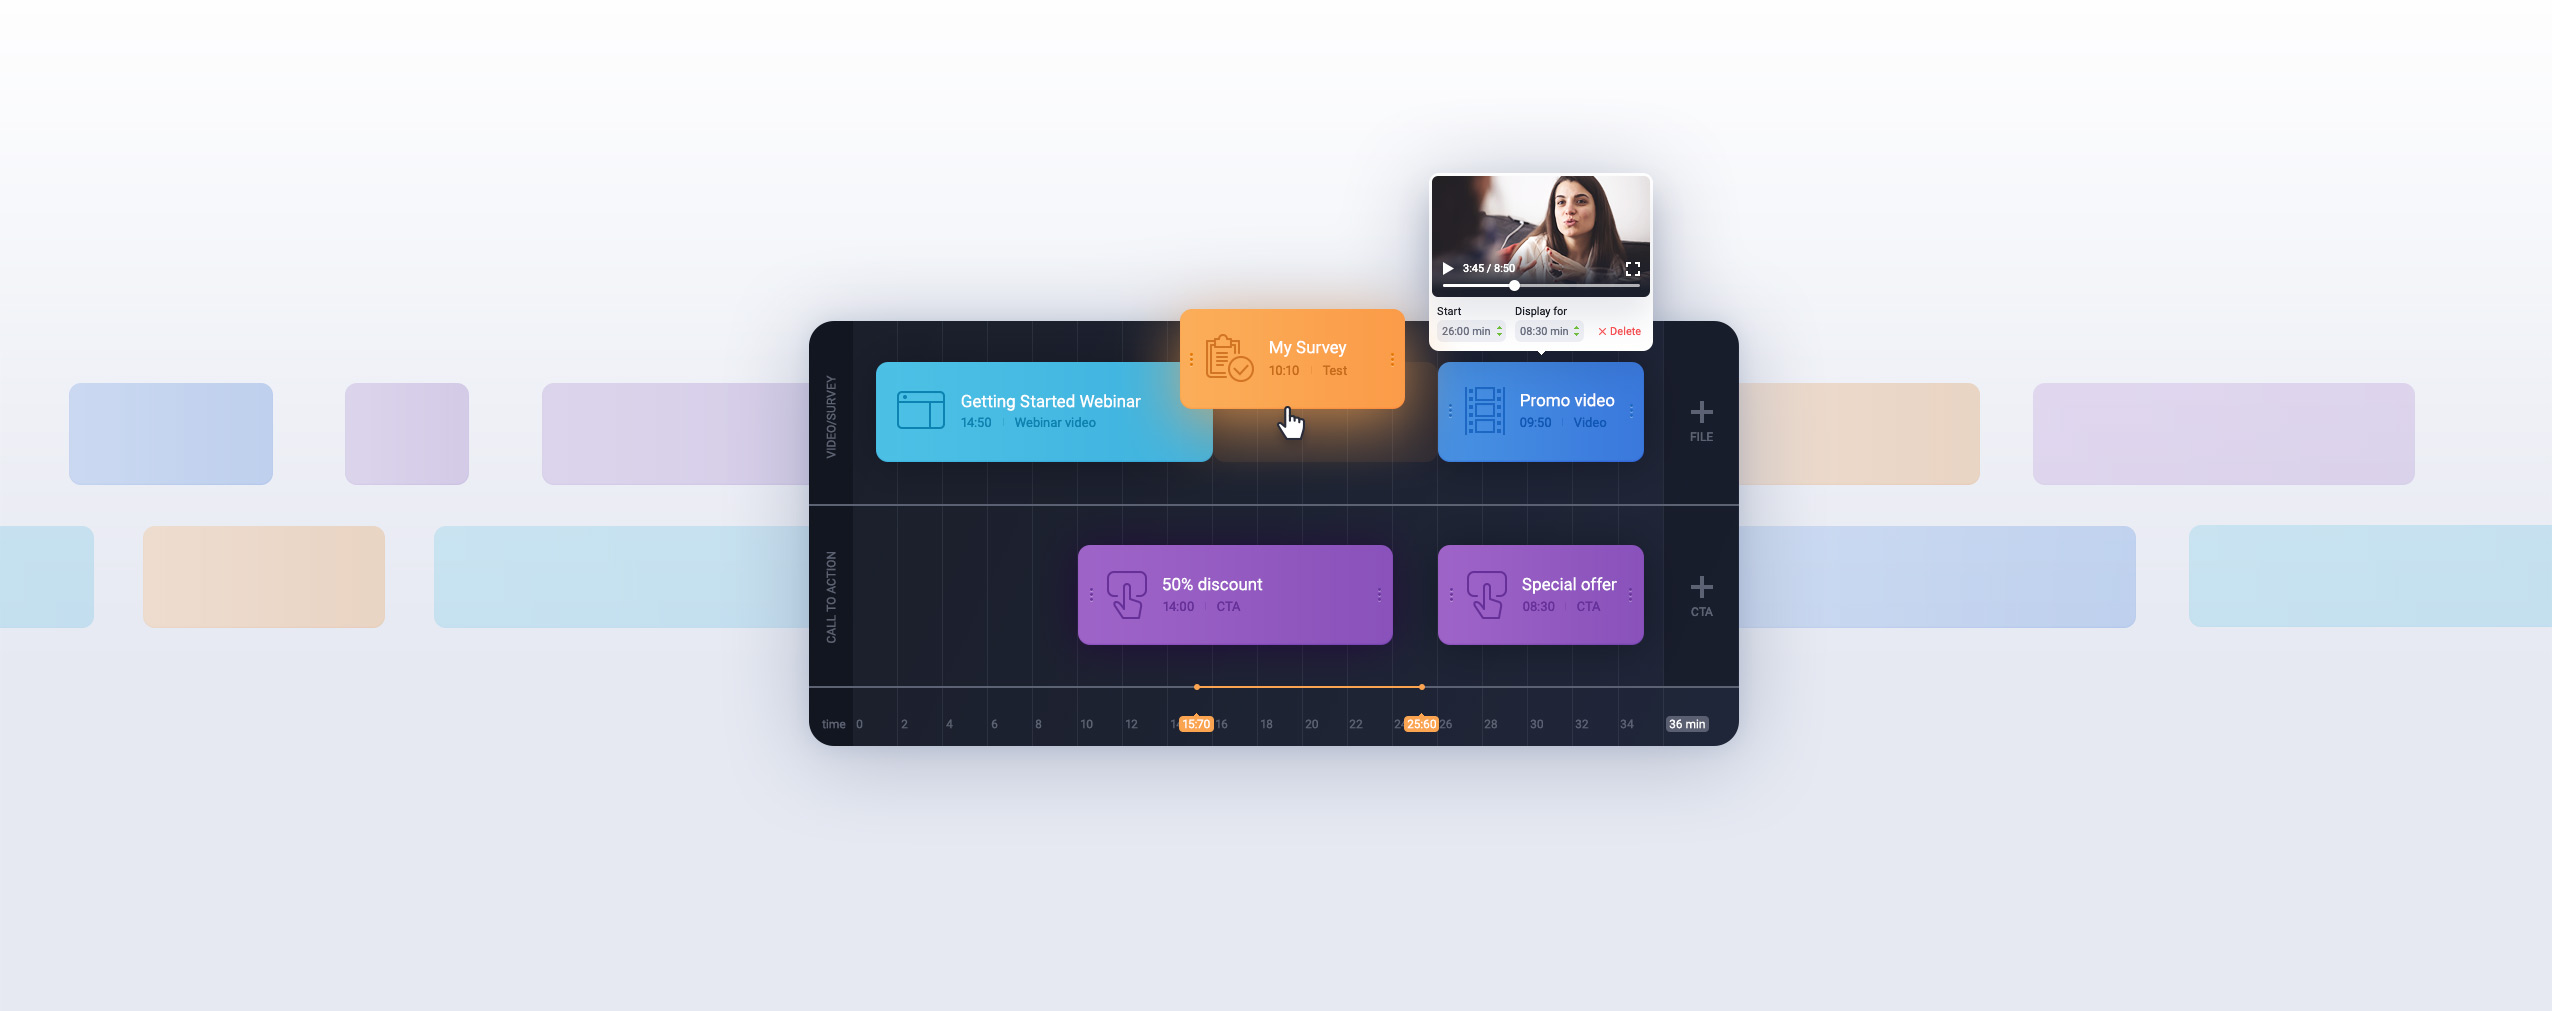
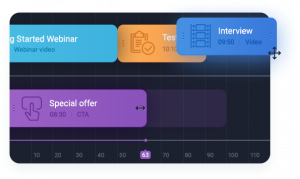 Great! You have now all the elements on your Automated Webinar Timeline!
Feel free to play with the elements, drag and drop them to change the order of their appearance. If you would like to open your event with a Video, drop it at the beginning of your timeline. Maybe a Survey will work best at the end of the webinar, but it doesn’t have to – you can insert it in the middle, and that would be fine too.
It’s entirely up to you how your webinar will look like, and that’s the beauty of this feature.
Note that your uploaded CTA button landed below the other elements. It’s not a coincidence. Your Call-To-Action can overlap the presentation, video, and survey. In practice, you can drag and drop it where you like, plus – you can stretch it – make it long or short.
Again – it’s your call when (and for how long) your attendees will see the CTA button during your Automated Webinar and redirect them to your landing pages when it makes sense.
OK, so you’re all set. You can create your Automated Webinar and start inviting your attendees.
To make it super-easy, we have prepared this video tutorial to walk you through the whole process:
Let the automation save your precious time
Automated Webinars are on the very top of valued and expected webinar features.
Why?
Because they come in line with an immense trend of automating time-consuming and repetitive work. Going around the clock to operate all marketing tools available is a road to nowhere.
Scaling up your webinar business to generate leads, get more people to sign up to your offeror buy your product, or to radically increase your revenue from selling online courses, is an enticing vision. But it will require tremendous work and producing tons of webinars like a digital factory.
With our Automated Webinars feature, you will keep the quality of your webinar content at the highest level. You will also win back your priceless time you would spend on going live.
The bottom line is, you will focus on your business goals, not the tool.


 (7 votes, average: 4.29 out of 5)