
For webinars and virtual meetings, there’s no doubt that video and audio are at the forefront. But what would online communication be without chatting?
Of course, you’ll also find a chat window in ClickMeeting. But text messaging alone is just the beginning. You have quite a few other options at your disposal to improve communication and better organize your event.
Let’s not prolong the introduction. Here is the new chat window in ClickMeeting!
Table of Contents
Quick location: here you will find the chat window
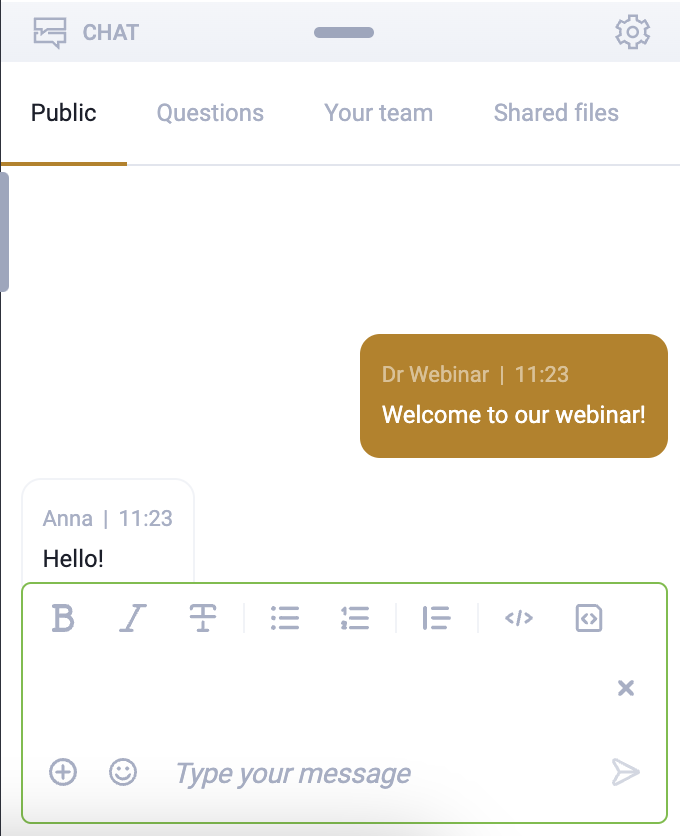
Your event room is a real command center for hosting an engaging webinar or meeting. An important part of it is the chat window. It’s really hard to miss: you’ll find it in the lower right corner, just below the list of attendees.

As you can see, the chat window is made up of several basic sections. At the top you’ll find tabs that allow you to switch between different chats (more about that in a moment). There is also a tab dedicated to uploaded files. Under the gearwheel icon you’ll find the chat settings, and at the very bottom there’s an extensive text editor. Now it’s time to take a look at the various functions!
What can you do with chat in the event room?
Of course, it goes without saying that chat is used to share messages. The same is true for ClickMeeting chat.
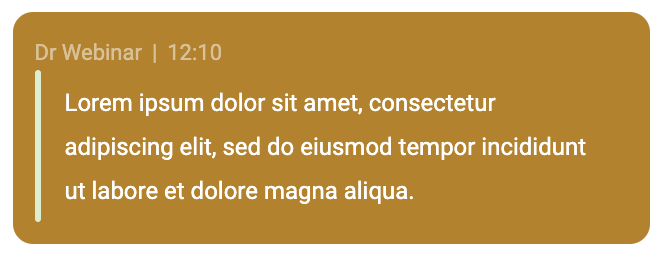
So let’s tick off this point at the very beginning. A sample conversation looks like this:
Replying and reacting to comments
But during an engaging webinar, there may be many threads worth clarifying and discussing. Attendees may also want to respond to messages of specific individuals. To do so, simply hover your cursor over a statement.
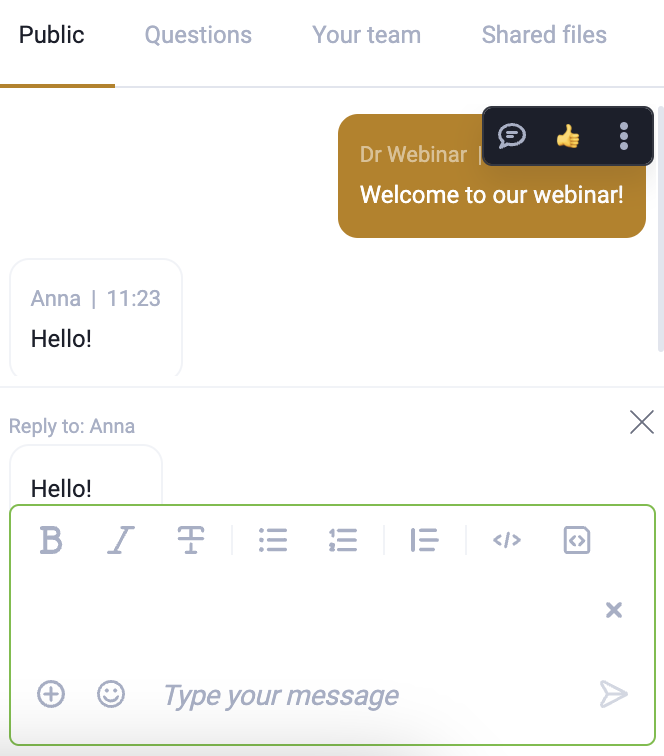
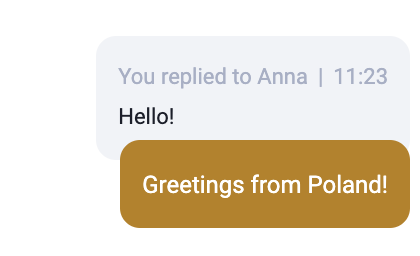
Two options will be displayed: by thumbs-up you will appreciate the accurate observation of another person. By selecting a response, on the other hand, you will get the chance to comment. This will look as follows:
Pinning messages at the top of the chat
Every event has a few fixed points. Usually some standard organizational questions are being asked in the course of it. An absolute classic is:
– Will there be a recording of the webinar?
– Will we get a certificate of participation?
That’s why it’s great to get ahead of attendees, including latecomers, and answer those questions. You do this by pinning a message at the top of the chat.
For this, write and send a message, then hover over it, click on the three dots and select “Pin message.” Here’s the effect:
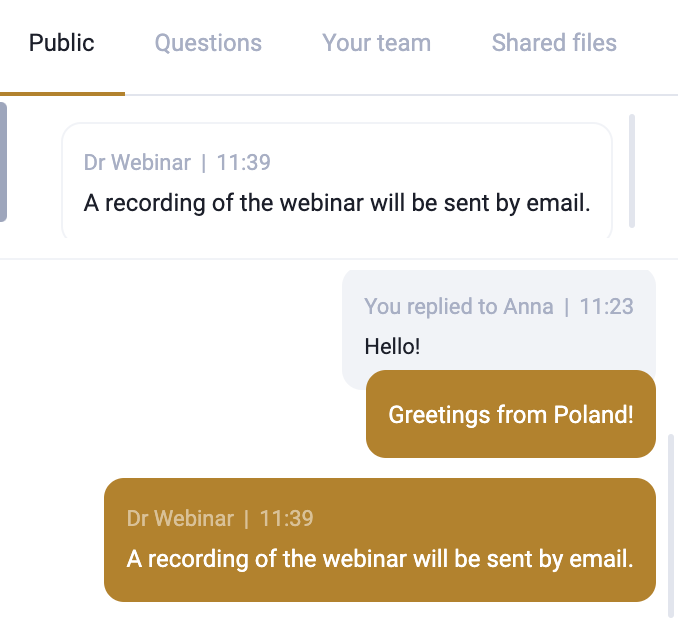
Of course, this is a great way to highlight other information as well, such as a meeting schedule or contact information.
Formatting and editing text
Keep in mind that chat messages don’t have to look boring and unattractive at all. In ClickMeeting you have a lot of text formatting options.
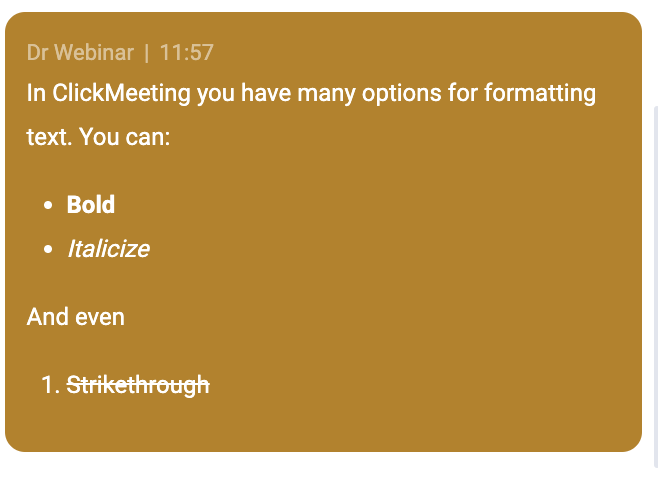
As you can see, bullets and enumerations also work fine 😉.
But that’s not all. You can also highlight quotes:
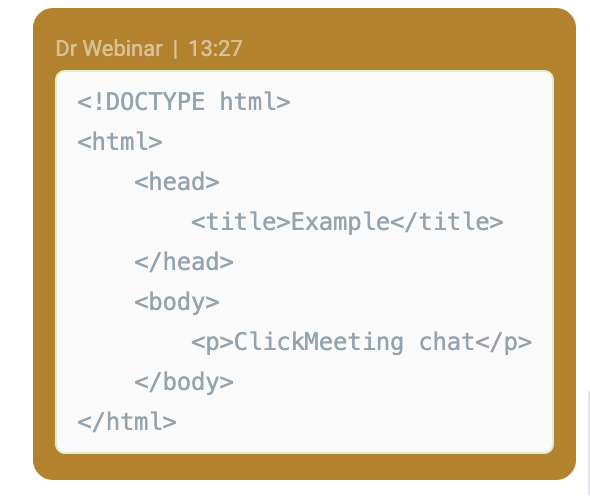
Or place code:
Uploading files
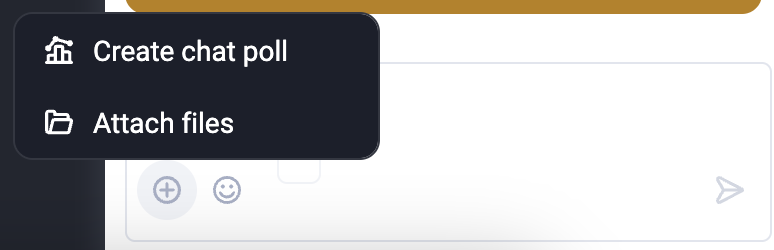
When you click on the plus icon, you will get access to additional capabilities. Via the chat, you can conveniently and quickly share files, such as study aids or recordings, with attendees. To do this, select the “Add files” option.
A window will pop up where you decide whether you want to select one of the files already available in your library or upload a brand new file from your device’s storage.
Quick chat polls
In ClickMeeting, you can easily create surveys and tests for your users using the feature available in the menu on the left side of the event room.
But what if you want to take a quick survey without interrupting your presentation? A chat poll may be the perfect solution!
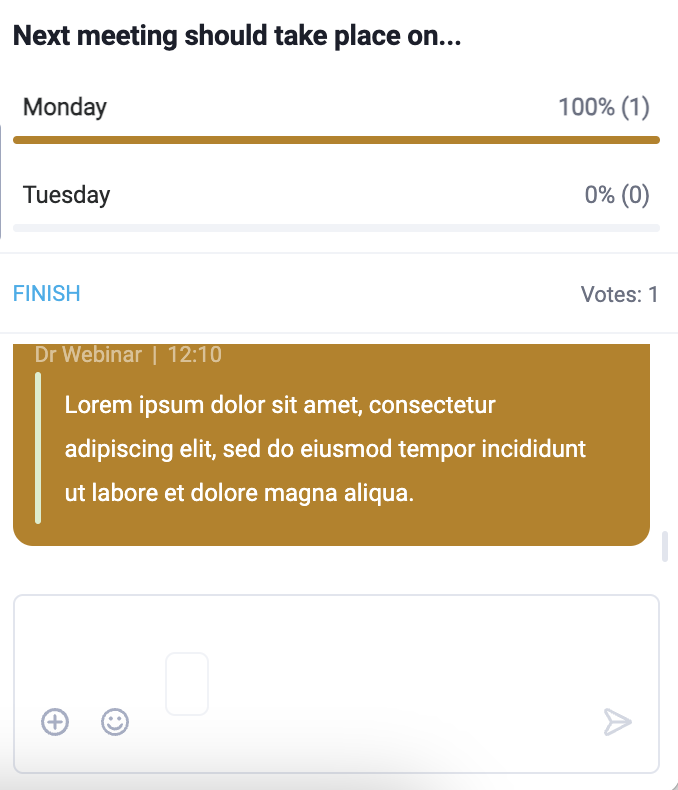
Click on the plus icon and select “Create chat poll”. In the window, enter the question and answers.
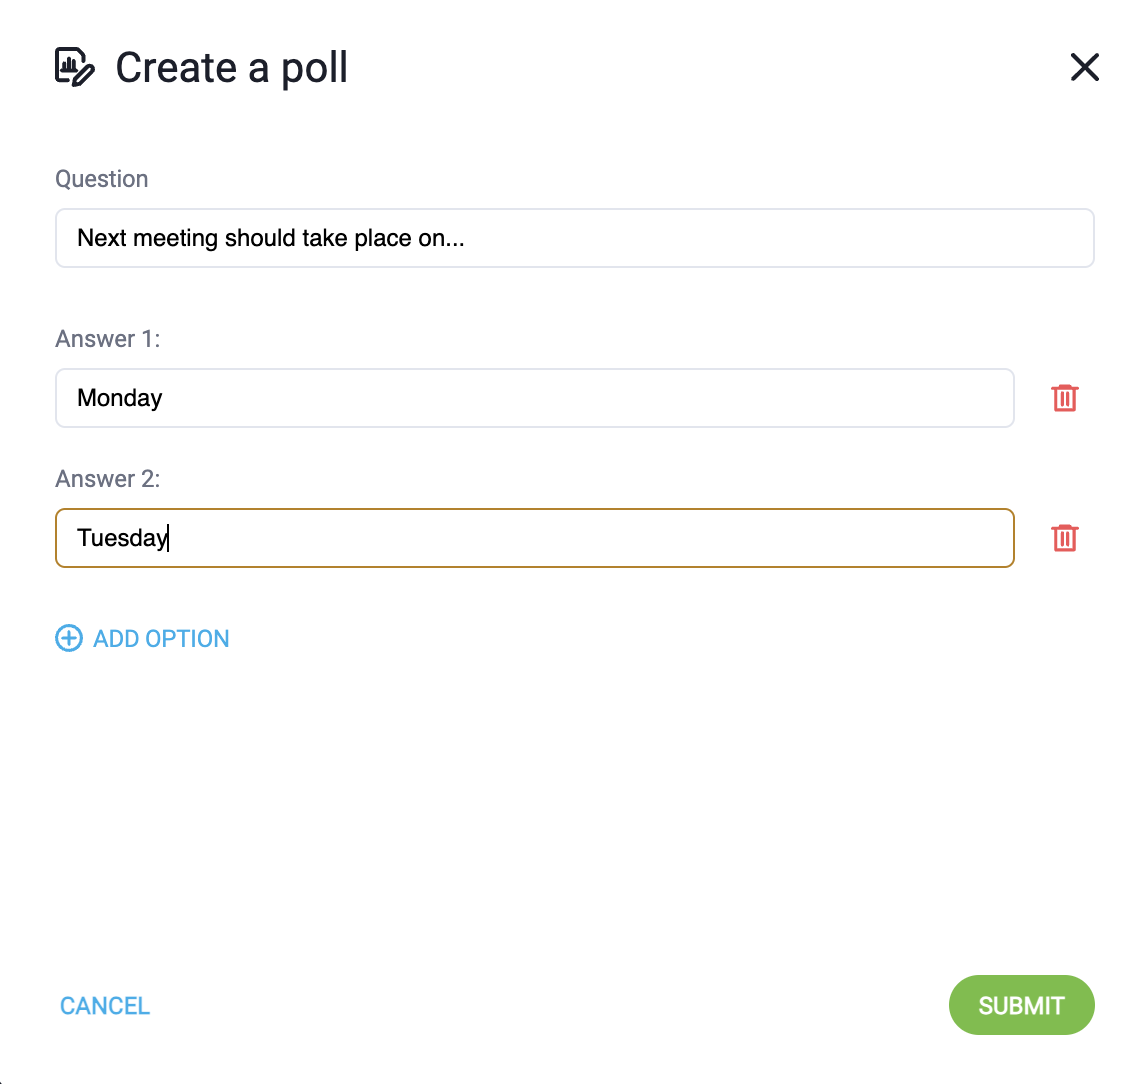
A survey will appear in the chat window, allowing you to get answers to the most important questions in no time!
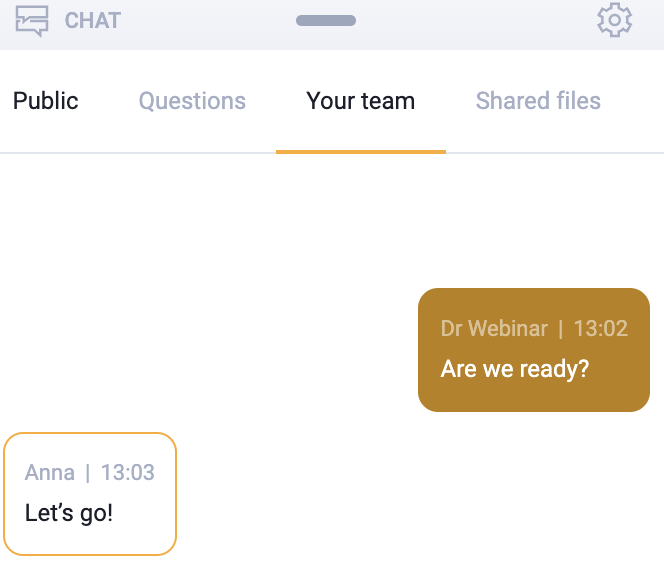
Public, team and private chats
Once the event is launched, there will be a public chat available on the one hand, where messages can be exchanged by all the webinar or meeting attendees, and a team chat on the other hand, which is a place where those responsible for the event, such as the organizer, moderators and presenters, can discuss with each other.
This allows you to exchange, for example, technical considerations without worrying that your audience would witness the communication.
Want to talk to a specific person? No problem. Just find them in the list of attendees and click, then find the options for chatting in the list.
To start an individual conversation, select “Private chat.” No one but you and the chatter will know its contents.
By selecting “Group chat” you will set who should join the conversation by yourself.
A tab with a new conversation will appear in the chat window. If you want to add someone there, click on it and select “Add person”.
Oh! For events with breakout rooms running, each breakout room can use its own separate chat unavailable to other attendees. It is still possible to use other chats in parallel after selecting the appropriate tab.
Let’s take a look at the chat settings: moderation, Q&A and more!
You have full control over what happens in chat during your events and how attendees will use this feature. You can find more options in the settings window:
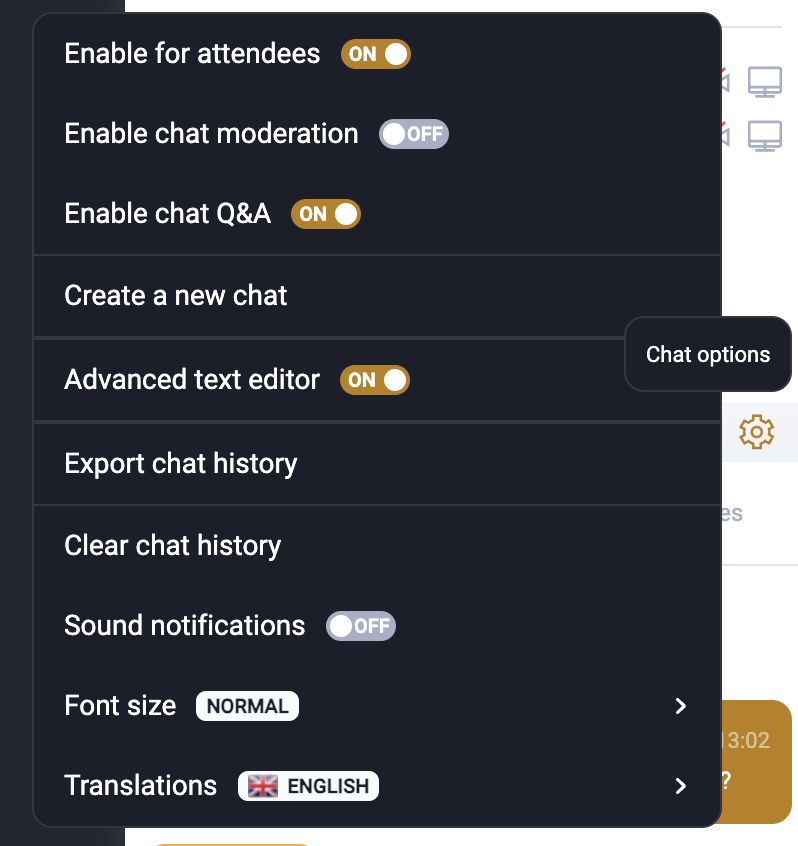
As you can see, here you can enable or disable chat for attendees – it is not at all a mandatory part of the event.
Chat moderation
Some hosts turn off chat for fear that unacceptable content will appear there. However, it is not necessary to decide on this radical step whatsoever! Moderation of the chat will prove to be a much better solution. In this case, messages, before they appear in the chat, will require approval. You can find new messages under the “Moderated” tab.
Moderation can be handled by the presenter, but running a webinar and managing the chat at the same time is not always a simple task. For this purpose, you can establish a moderator. To do this, you just need to find the person in the list of attendees who is to be given such rights, and then select the “Make moderator” option. Of course, as the organizer, you can take away these privileges from the user at any time.
Q&A mode
During the event, a lot of questions are likely to be asked in the chat room. Answering them on the fly is obviously difficult, so it is definitely better to do it during the Q&A session. Click “Enable chat Q&A” to automatically save questions.
Statements ending with a question mark will automatically go to the “Questions” tab in the chat and will be displayed when you enter Q&A mode.
What if a participant forgets this important punctuation mark? Nothing lost. Just select the statement, click on the three dots and then the “Mark as a question” option. Likewise, you can also remove the question marking.
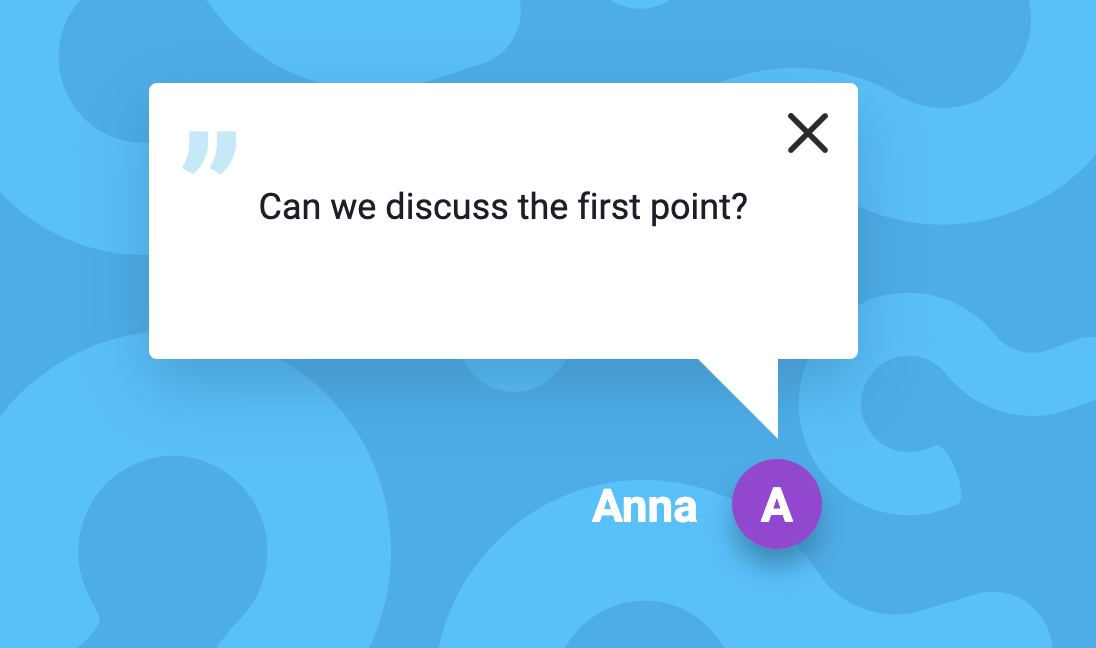
If you want to use the Q&A mode, go to the “Questions” tab, select the statement you are interested in and click on “View.” This will allow all attendees to see the question content.
Chat translations
Hosting an international audience that speaks different languages? The chat window doesn’t have to resemble a Tower of Babel at all! All you need to do is use automatic translations.
To do this, in the settings window, select the “Translation” tab and choose the language you are interested in. The messages will be automatically translated.
Test ClickMeeting chat in practice
Enough theory, time for practice! Test right now how the new ClickMeeting chat works at your events. If you don’t have an account yet, just take advantage of the free trial period. You have plenty of time to learn about this and other advanced features of the platform. Good luck!