Your virtual classroom comes with everything you need to teach online. Just like in a traditional classroom, a whiteboard takes center stage. The ClickMeeting interactive whiteboard has just undergone a significant change. Now you have unlimited space to share knowledge and collaborate with your students and trainees!
Explore the new ClickMeeting virtual whiteboard and see how it can help in your daily work. And then? Then see how it works in practice. An unlimited whiteboard means unlimited inspiration. If you don’t already have a ClickMeeting account, test our tool for free.
Table of Contents
When will you find a virtual whiteboard useful?
Educators who have moved their classes to a virtual space usually have one goal in mind: they want their students’ experience to be as close as possible to that of a conventional classroom. For this to happen, the online meeting must be interactive and engaging. It also needs to leverage a complete set of tools to support collaboration. One of the most important of these is the whiteboard.
By the way, did you know that the school blackboard as we know it today first appeared in 1801? It was invented by Scottish teacher and education reformer James Pillans. Soon after, the blackboard also showed up in classes at the famous American military academy West Point. It turned out to be a real breakthrough in education: from now on, the teacher could deliver lessons involving a whole group of students, and the most important issues could be fixed in writing. Students have therefore lost the argument that they didn’t hear something. Of course, there is still another exceptionally frequently used possibility: that is, asking students to solve tasks at the blackboard. 
Over time (and with the development of technology) the form of the blackboard has evolved, but its main purpose has remained unchanged. Nowadays, we deal more and more frequently with a virtual whiteboard (such as the one you’ll find at ClickMeeting). Teachers at various levels of education, trainers, and online courses designers still use it extremely readily. An example? You’re welcome: here’s an excerpt from our conversation with representatives of the AGH University of Science and Technology in Krakow:
First of all, I use the presentation mode. I especially appreciate the ability to put different types of notes on it, which makes it easier to share knowledge. I can underline important fragments, and add things I’ve just recalled. I often leave the equations of reactions uncompleted and ask students to answer. They can do it, for example, in the chat window. During my classes, I also make extensive use of the virtual whiteboard, which works perfectly when discussing particular issues.
Piotr Chyła, PhD, lecturer at AGH UST
ClickMeeting virtual whiteboard: infinite collaboration space
We don’t like boundaries. Especially if it applies to sharing knowledge. Every teacher and student should have as much space to discuss, collaborate and practice as they need. The new ClickMeeting virtual whiteboard is the best proof of how seriously we take this.
Until now, on ClickMeeting there were 10 boards available. Once you filled one, you could move on to the next, and the next, and the next… Now, this is not necessary. The board simply never ends. So you can draw out diagrams at will, put more graphics, text boxes as well as sticky notes with the most important information.
Where do I turn on the whiteboard?
Before we move on to discuss more features and news, let’s establish the most important thing, that is, where you can find the virtual whiteboard in your webinar room. It’s located where it used to be: in the panel on the left, between the presentation mode button and the screen sharing button.
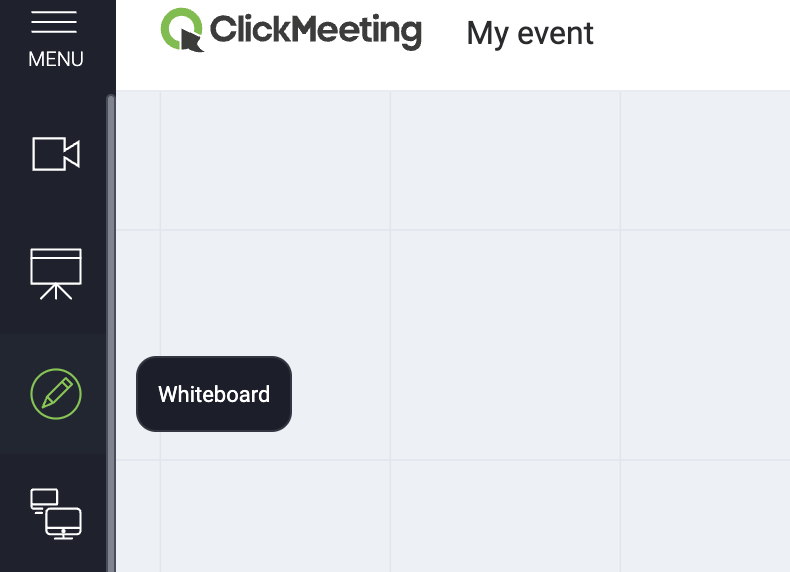
Simply click here to turn on the board. It will be displayed to all event attendees. If you want, they can also have permission to edit the board’s content. This will certainly come in handy, for example, when working on exercises together or collaborating in smaller project groups.
Tools in whiteboard mode
It’s high time to take a look at the tools you’re sure to find useful in your classes.
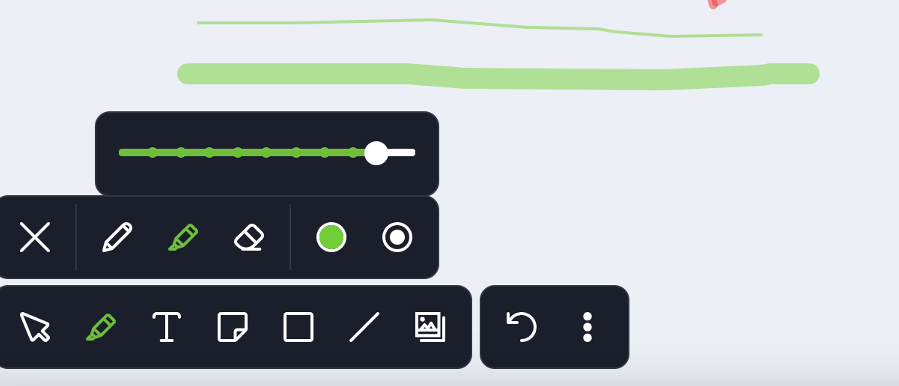
1) Pencil, marker, and, obviously, eraser
A standard no whiteboard can be imagined without. You can use two tools for drawing, that is, a pencil and a marker. If something needs corrections, no problem: just use the eraser.
In addition, you can also decide on the thickness of the line:
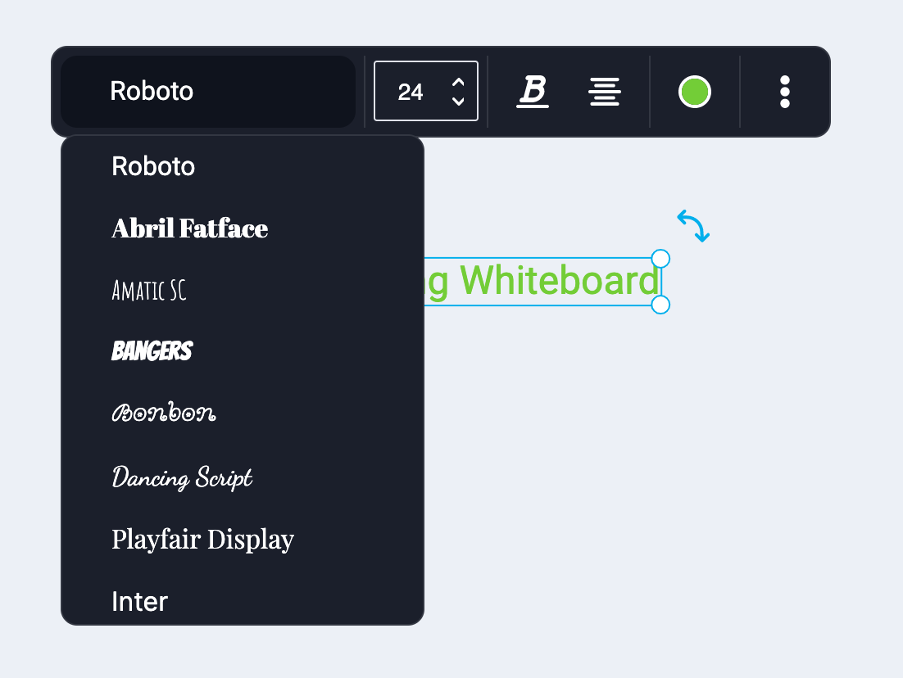
2) Entering a text
The outcome is a bit scruffy? We have a way to deal with that, too.
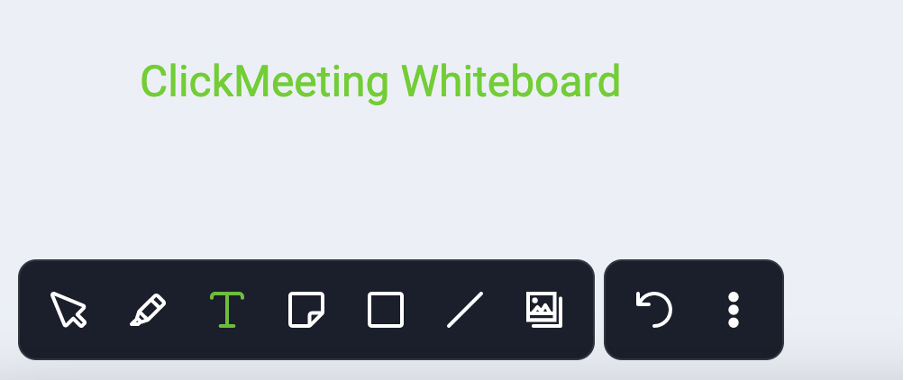
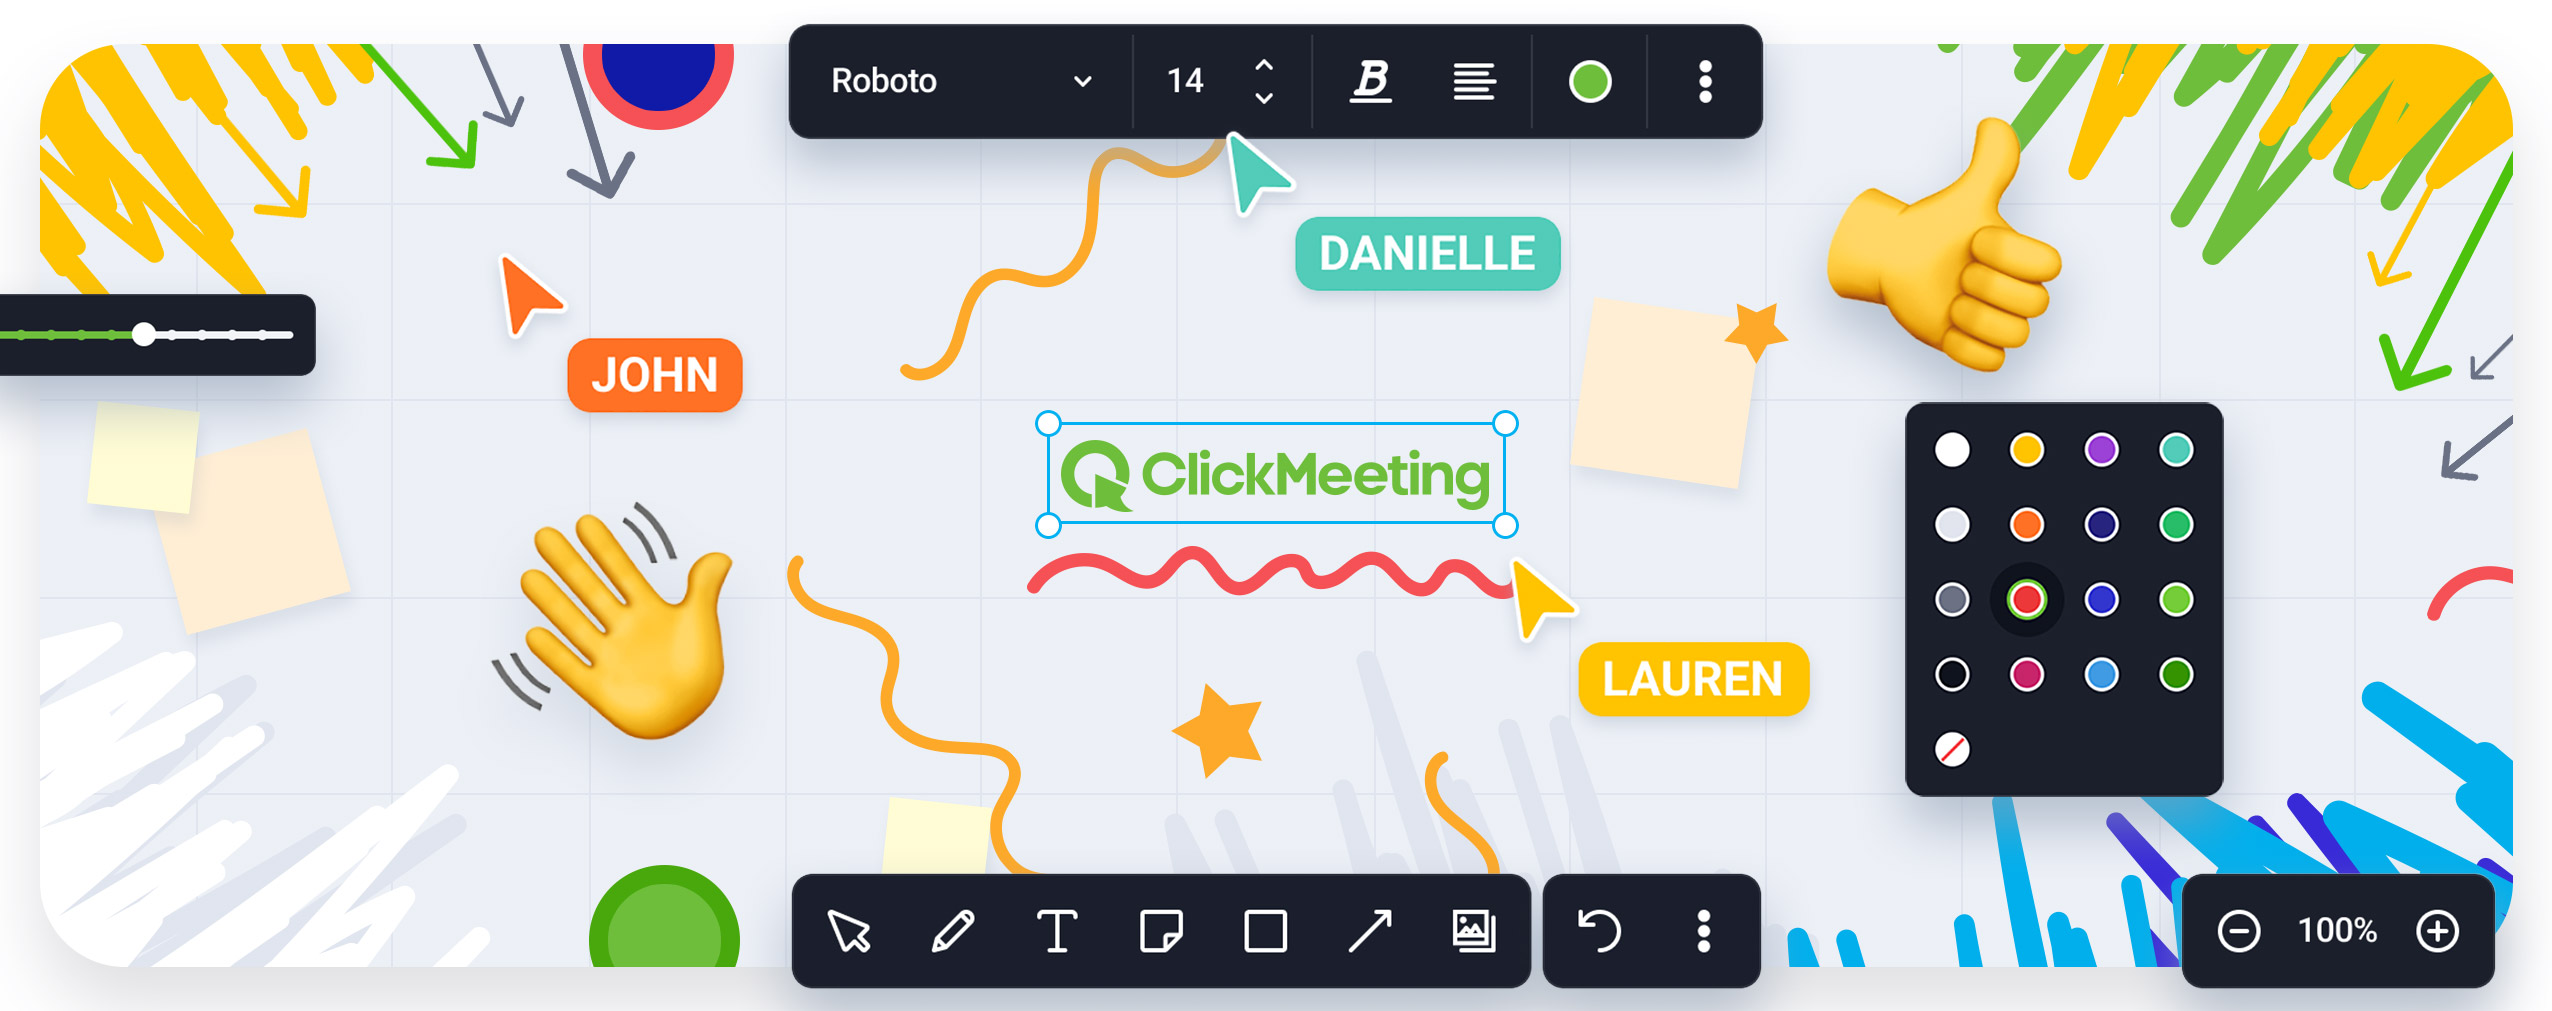
If you want to enter text, simply use the editor. While doing so, you can decide on the font style, size or formatting – you can easily apply bold, italic, strikethrough or underline. Also choose how you want the text to be arranged – you can align it to the right, left or center it.
3) Sticky notes
Note cards come in handy when studying. They help you quickly jot down something important and get to the stored information even faster. You can also find them in ClickMeeting.
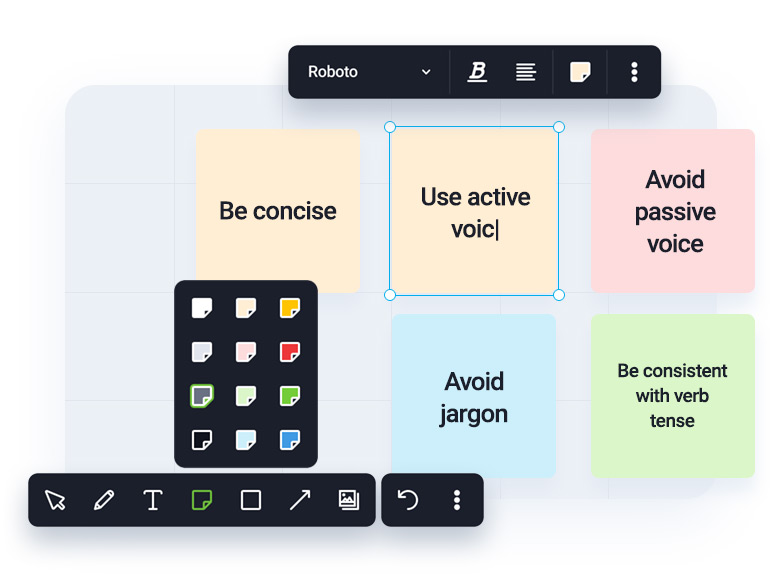
On the virtual whiteboard you can add any number of different colored cards with important information. Of course, in this case, too, you determine what font you want to use and how you format the text.
4) Shapes
And what if you want to mark something in an even more distinctive way, but don’t want to fiddle around with hand-drawing shapes? Just use the next available option:
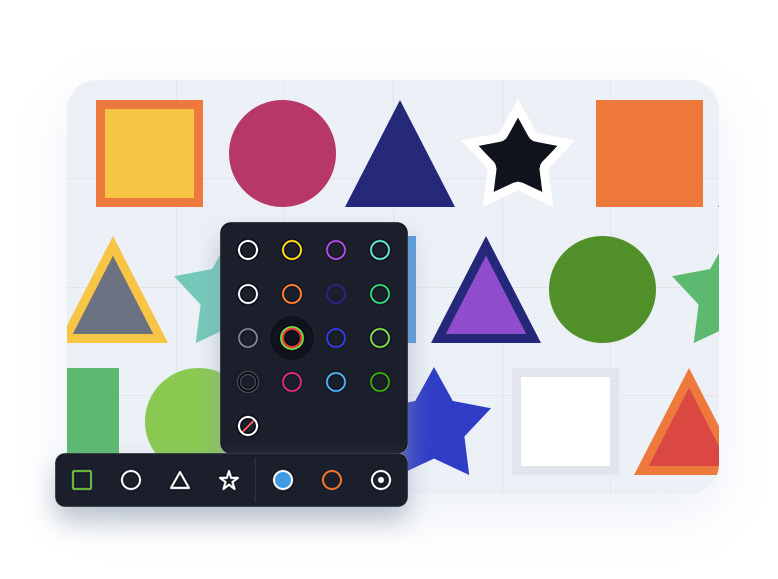
You can choose one of the defined figures and specify the color of the fill and outlines.
5) Arrows and lines
Showing relations between ideas or pointing out the most important issues is even easier with arrows and lines.
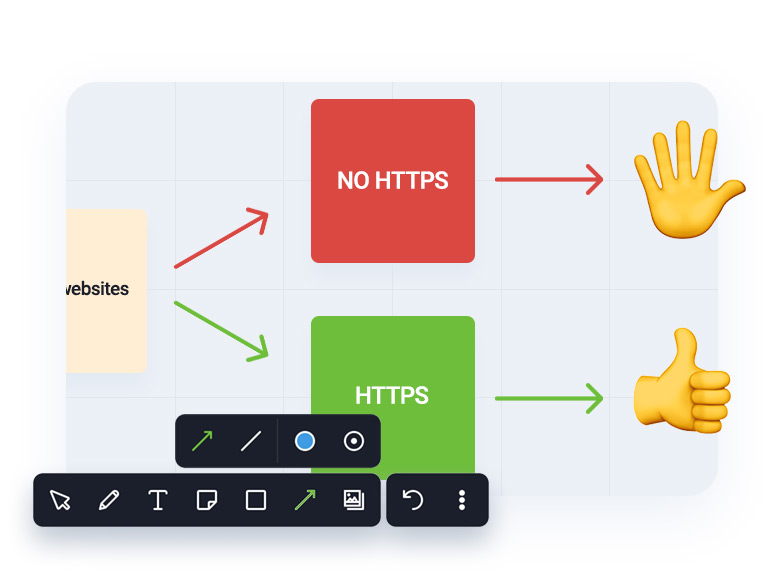
As in other cases, you can specify their color and thickness. This means you can perfectly customize arrows and lines to suit your needs.
6) Uploading graphics
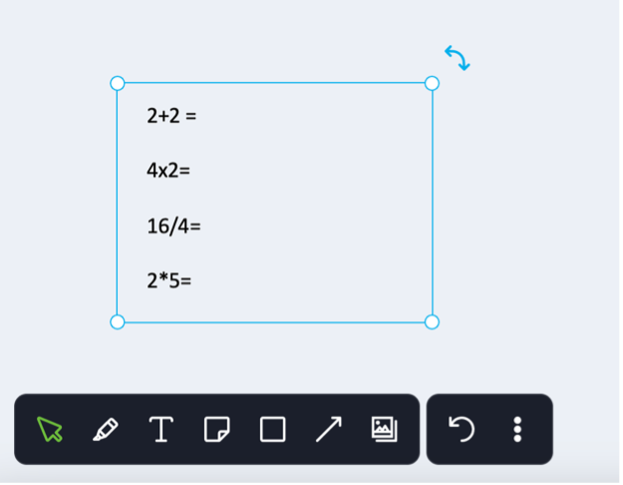
Let’s say you want to focus on an important topic with your students and ask them to complete tasks live in collaboration mode. This happens relatively often in a standard classroom. You can also do this easily using ClickMeeting. How to do it? You don’t have to enter the information manually or paste it into a text box. If you have the task in graphic form, just add it to your virtual whiteboard!
First, click the option “Add image.” In the next step, find the graphic in the files stored in your ClickMeeting account or upload it directly from the disk of the device you are using. And here is the result:
Now all you have to do is turn on the collaboration mode (you’ll see how to do it in a moment) and ask the attendees to complete the task. You can comment on the results in real-time and correct any errors that arise:
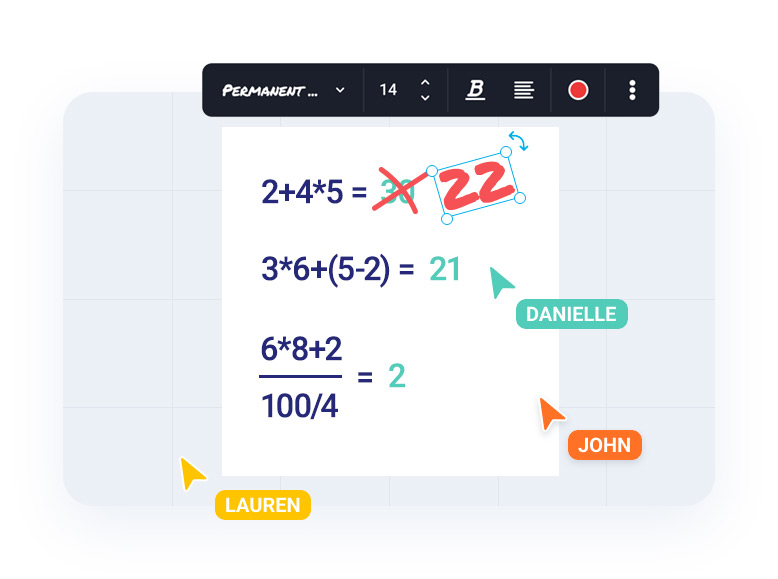
On your virtual whiteboard, of course, you can put any graphic you want – not just a screenshot of a page from a textbook. You decide what will be included in this space.
7) Managing the whiteboard
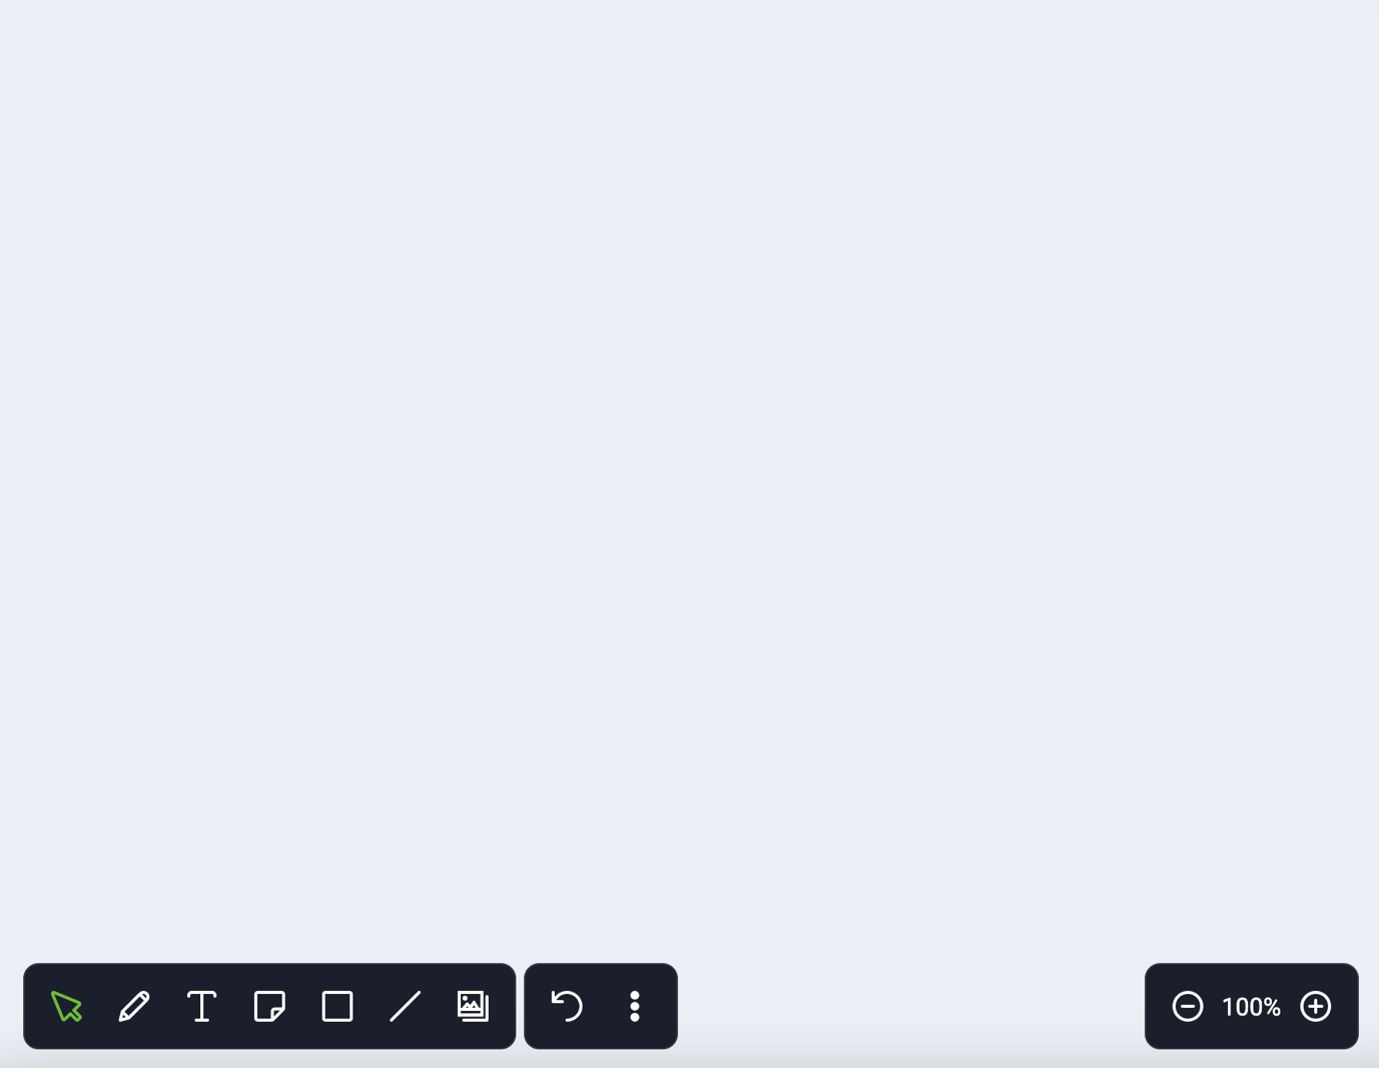
On the right side you will find an option to reverse the last action and three dots, covering the most important functions that help you control the whiteboard and collaboration rules.
Here you can specify whether you want to invite attendees to co-create the virtual whiteboard. To know who is responsible for editing, you can also mark the cursor. When working, you may find the grid helpful.
At the bottom, you will find an instant delete button for everything on the whiteboard. Before you do this, don’t forget to download the content – this way, you’ll keep all the material you have prepared in class, so you can send it to your students easily.
Check out how the ClickMeeting virtual whiteboard works!
If you are bored with the theory, you can move on to practice at any time: just launch ClickMeeting and play with the available functions. You can also do this during the 14-day free trial period. If you manage to create a unique work on your virtual whiteboard, please share it with us!